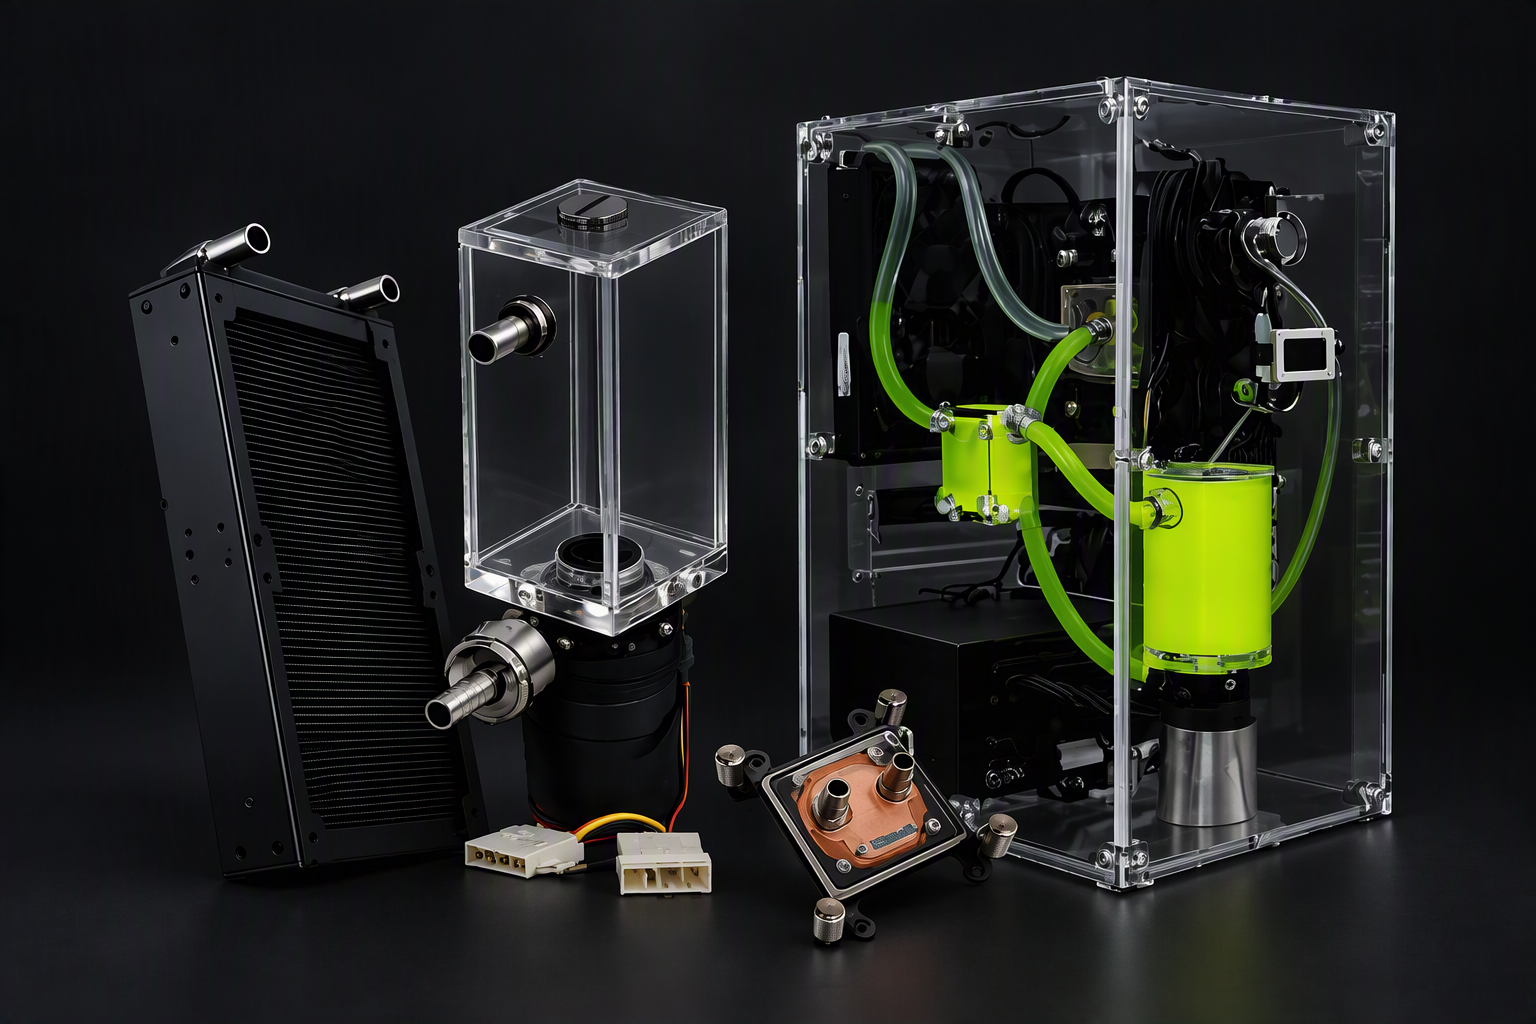
Rigloop custom PC water cooling kit with radiator, reservoir, pump and CPU water block for high-performance gaming and workstation systems.

Beginner’s Guide to Building Your First Custom Water Cooling Loop

So you're tired of your CPU throttling under load, or you just want your gaming rig to look as good as it performs. Either way, welcome to custom water cooling — it's less intimidating than it looks, and once you've built one loop, you'll never want to go back to a stock cooler.This guide walks you through the basics: what parts you need, how they fit together, and how to actually build your first loop without frying your components.
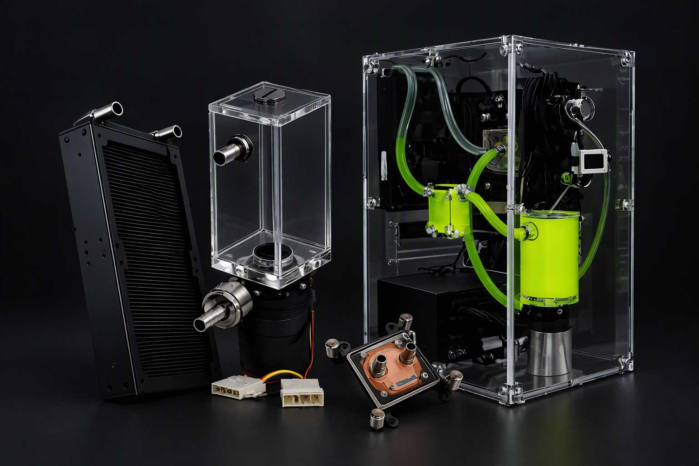
Rigloop custom PC water cooling kit with radiator, reservoir, pump and CPU water block for high-performance gaming and workstation systems.

Why Go Custom Water Cooling?

All-in-one (AIO) coolers are convenient, but a custom loop gives you three big advantages:

  • Better thermals — larger radiators and full-copper blocks move heat away faster, especially under sustained load.
  • Quieter operation — bigger radiators mean fans can spin slower for the same cooling.
  • Customization — you choose your tubing, coolant color, and layout, so your build actually looks the way you want it to.
    The tradeoff is time and a bit of planning. But once you understand the core components, it’s really just a loop of five or six parts.

The Core Components You'll Need

Every custom loop, no matter how fancy, comes down to the same basic parts:
  1.  Pump
    The heart of your loop. It needs to run reliably, 24/7, without overheating or losing flow over time. Rigloop’s RL12V20W pump is built specifically for PC water cooling and designed for continuous multi-day operation — exactly what you want for a loop that’s going to run every time you turn on your PC.
  2. CPU Water Block
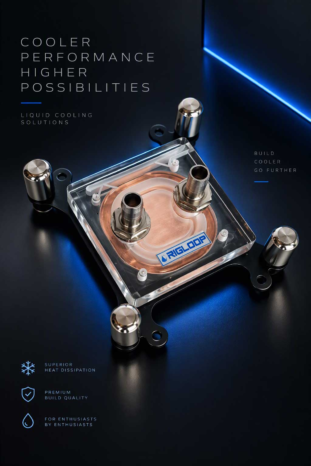
    This sits directly on your CPU and pulls heat into the coolant. Look for a block with universal socket compatibility so you’re not locked into one platform. Rigloop’s RL50WB is a 50mm copper block with a 3mm heat sink base and fittings that work across Intel and AMD sockets, so it’s a safe pick even if you upgrade your motherboard later.
Transparent CPU water cooling block with copper base and mounting bracket.

3. Radiator
The radiator is where heat actually leaves your loop, dumped into the air by fans. Radiators are sized by how many fans they hold — an 80mm radiator takes one fan, a 160mm takes two, and a 240mm takes three. For a first build, a 240mm radiator is a great starting point: enough surface area for solid cooling without needing a huge case.
4. Reservoir
The reservoir holds extra coolant and makes it easier to fill and bleed air out of your loop. It also gives the pump a steady supply of liquid so it never runs dry.
5. Tubing and Fittings
This is what connects everything. Tubing comes in soft (flexible) or hard (rigid) varieties — soft tubing is far more beginner-friendly since it doesn’t require bending or cutting to precise angles.
6. Coolant
Don’t use plain tap water — it can encourage mineral buildup and corrosion over time. A proper PC-cooling coolant is treated to protect your components and often comes in colors if you want to match your build’s theme.
7. Flow Meter and Temperature Gauge (Optional but Handy)
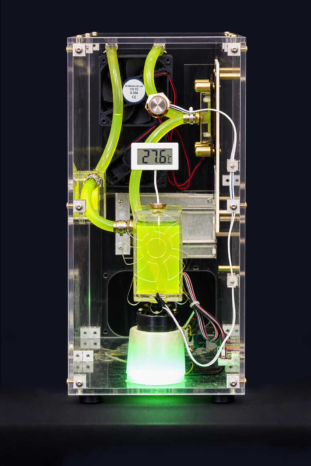
These aren’t strictly required, but they’re worth considering for peace of mind. A flow meter confirms coolant is actually circulating, and a digital temperature gauge lets you keep an eye on loop temps without opening any software. Rigloop makes both, and they’re designed to fit right onto the reservoir end cap.

Custom PC liquid cooling test setup with acrylic enclosure, green coolant, reservoir, pump, radiator fan, and digital temperature monitor.

Planning Your Loop Layout

Before you install anything, sketch out (even mentally) how coolant will travel through your case:

  1. Reservoir → Pump
  2. Pump → CPU Block
  3. CPU Block → Radiator
  4. Radiator → back to Reservoir

Try to keep tubing runs short and avoid sharp bends, which can restrict flow. Most cases have dedicated mounting points for radiators (usually the top or front) and space near the bottom or front for a pump/reservoir combo.

Step-by-Step: Building the Loop

Step 1: Mount the radiator and fans.
Install your radiator in the case first, since it’s usually the most space-constrained part. Attach your fans, paying attention to airflow direction (intake vs exhaust).
Step 2: Install the CPU block.
Mount your water block onto the CPU using the bracket and thermal paste, just like you would with an air cooler.
Step 3: Mount the pump and reservoir.
Many beginner-friendly setups combine the pump and reservoir into one unit, which simplifies mounting and reduces the number of connections you need to make.
Step 4: Connect the tubing.
Cut your soft tubing to length and connect each component in the loop order above. Push tubing firmly onto the fittings and secure with compression fittings or clamps.
Step 5: Fill the loop.
Fill the reservoir with coolant. Do not power on your PC yet — first, you need to bleed air out of the system.
Step 6: Bleed the loop.
Run the pump alone (many motherboards let you do this without booting the full system, or use a jumper/PSU tester) and gently tilt/rock the case to help air bubbles rise into the reservoir. Top up coolant as the level drops.
Step 7: Leak test.
Before connecting any other components, run the pump for 15–30 minutes with paper towels placed under every fitting. Check for any dampness. This step is not optional — better to catch a leak with the system off than with your GPU installed.
Step 8: Power on and monitor.
Once you’re confident there are no leaks, boot up your system normally and keep an eye on your temperatures for the first few hours of use.

Common Beginner Mistakes to Avoid

  • Skipping the leak test. It takes 20 minutes and can save your entire build.
  • Using tap water instead of proper coolant. This leads to buildup and corrosion over time.
  • Overtightening fittings. Snug is enough — overtightening can crack fittings or strip threads.
  • Ignoring tube routing. Sharp bends restrict flow and can stress tubing at the joints.
  • Buying mismatched parts. Stick to compatible thread sizes and tubing diameters throughout your build.

Final Thoughts

Your first custom loop doesn't need to be complicated. Start with a solid pump, a reliable CPU block, and a properly sized radiator, and build outward from there. Once you've done one loop, expanding to GPU cooling or a full hardline setup becomes a lot less daunting.If you're sourcing parts for your first build, Rigloop's pump, CPU block, radiators, reservoir, tubing, fittings, and coolant are all designed to work together — which takes a lot of the guesswork out of compatibility for a first-timer.Ready to start planning your parts list? Check out the full Rigloop lineup to see what fits your case and budget.

Share:

Leave your thought here

Your email address will not be published.