
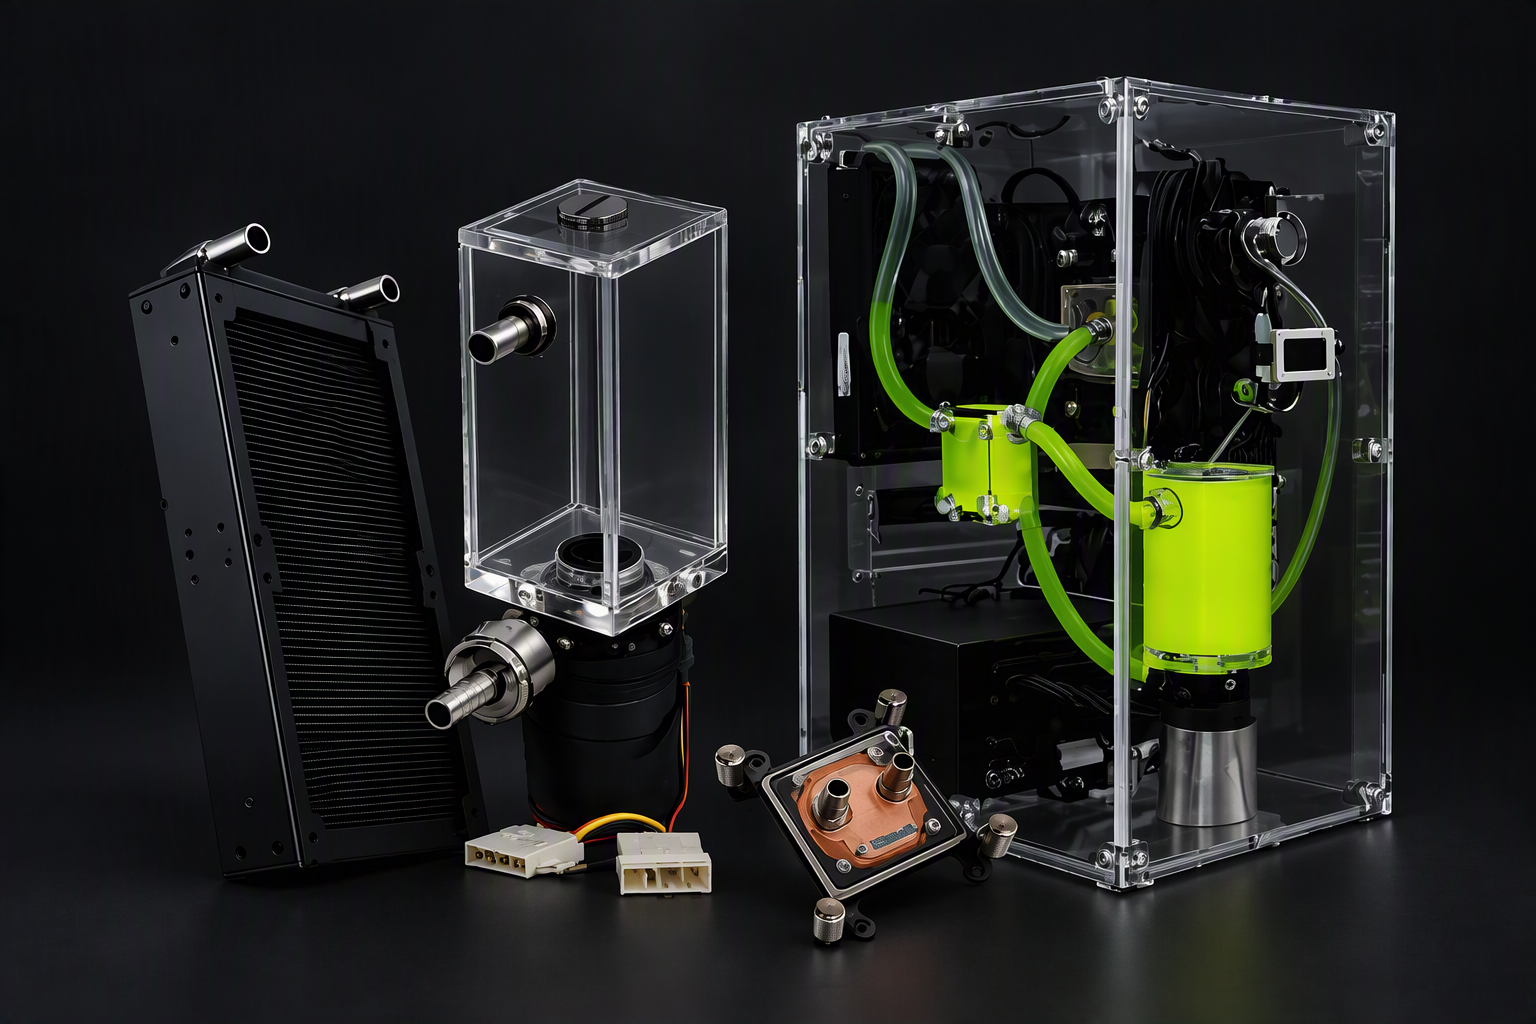
Beginner’s Guide to Building Your First Custom Water Cooling Loop
So you're tired of your CPU throttling under load, or you just want your gaming rig to look as good as it performs. Either way, welcome to custom water cooling — it's less intimidating than it looks, and once you've built one loop, you'll never want to go back to a stock cooler.This guide walks you through the basics: what parts you need, how they fit together, and how to actually build your first loop without frying your components.
All-in-one (AIO) coolers are convenient, but a custom loop gives you three big advantages:
Every custom loop, no matter how fancy, comes down to the same basic parts:
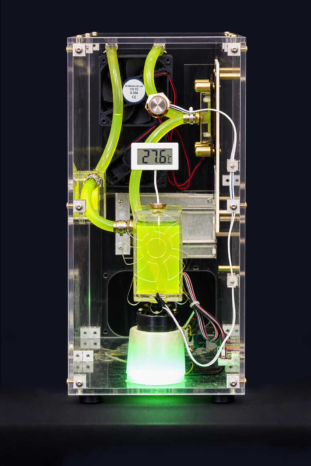
Before you install anything, sketch out (even mentally) how coolant will travel through your case:
Try to keep tubing runs short and avoid sharp bends, which can restrict flow. Most cases have dedicated mounting points for radiators (usually the top or front) and space near the bottom or front for a pump/reservoir combo.
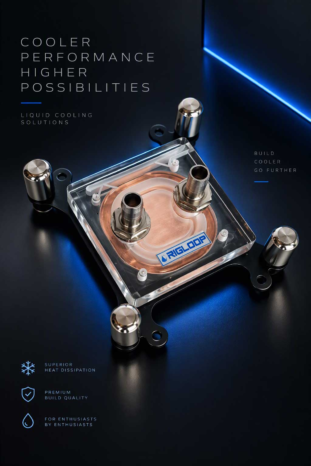
Your first custom loop doesn't need to be complicated. Start with a solid pump, a reliable CPU block, and a properly sized radiator, and build outward from there. Once you've done one loop, expanding to GPU cooling or a full hardline setup becomes a lot less daunting.If you're sourcing parts for your first build, Rigloop's pump, CPU block, radiators, reservoir, tubing, fittings, and coolant are all designed to work together — which takes a lot of the guesswork out of compatibility for a first-timer.Ready to start planning your parts list? Check out the full Rigloop lineup to see what fits your case and budget.